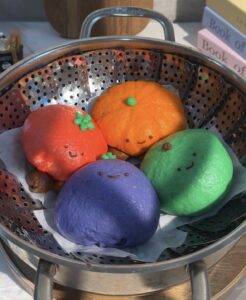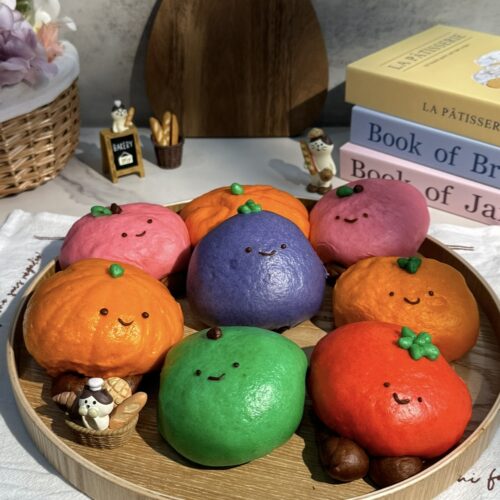
Fruit Jellycat Steamed Buns
These fruit-shaped steamed buns are as adorable as they are delicious, inspired by the charming Jellycat plushies. Soft, fluffy, and filled with sweet red bean paste, each bun is carefully crafted to resemble a different fruit, making them almost too cute to eat! Perfect for a fun baking project or a unique addition to your dessert table, these buns are sure to impress with their playful appearance and delightful flavor. Whether you're a fan of steamed buns or simply looking to try something new, these whimsical treats bring a touch of joy to every bite.
Ingredients
- 600 g All-purpose flour
- 336 g milk
- 8 g instant yeast
- 60 g granulated sugar
- 12 g vegetable oil
- 1/2 cup sweet red bean paste you may replace with any filling of your choice (chocolate, nutella, jam, etc)
Instructions
Make the dough
- In a large mixing bowl, combine the room temperature milk and yeast. Stir gently.
- Add the flour, sugar and oil to the bowl with the milk and yeast mixture.
- Using a stand mixer fitted with a dough hook, mix the ingredients on low speed until the dough comes together and is well combined into one lump.
- Increase the speed to medium and continue kneading until the dough is smoother but it will still not be completely smooth yet.
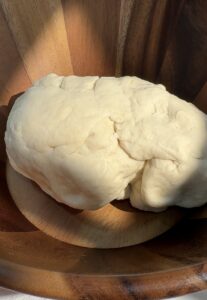
- After kneading the dough, divide it into 85 g pieces, ensuring each portion is uniform in size.
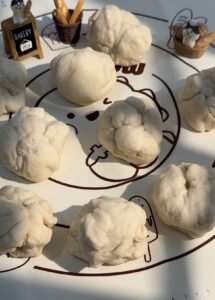
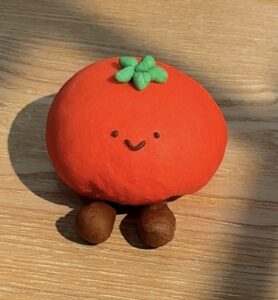
- From each 85 g dough ball, reserve a small portion of dough to create the eyes, mouth, stems, leaves, or legs, depending on the type of fruit you're making and the look you want to achieve. For inspiration, you can refer to the Jellycat website to see how the fruits are designed and shape your dough accordingly.
- Gather the dough you reserved for each feature, and combine them by category. For example, place all the dough reserved for the eyes and mouths into one group, and all the dough reserved for legs into another. This way, you can color and knead each category of dough at once, making it easier to achieve a consistent color and texture for each feature.
- Now it's time to color and knead the dough. For the dough reserved for the body of each fruit, add food coloring according to the fruit you are making, and knead it into the dough until the color is well distributed. Continue kneading the dough by hand until it is completely smooth with no lumps, which should take about 5-10 minutes.
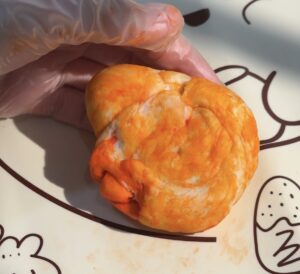
- Repeat the coloring and kneading process for all the dough portions, including the ones set aside for the different features like eyes, mouths, stems, leaves, and legs. Add food coloring to each portion according to the desired color for each feature, and knead the dough until the color is evenly distributed and the dough is completely smooth with no lumps. This should take about 5-10 minutes per portion.
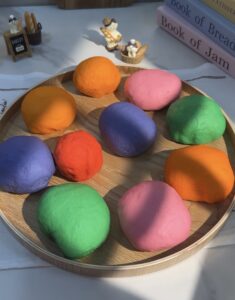
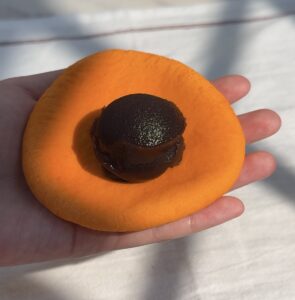
- Once all your dough portions are smooth like baby skin, you can start molding and shaping them. Begin rolling out the body dough, then spoon in about a tablespoon of sweet red bean paste (optional or use any other filling). Carefully envelope the paste with the dough and roll it into a smooth ball.
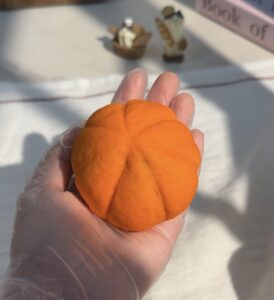
- Now it's time to shape your dough into your desired fruit forms. Treat this process like working with clay and let your artistic side shine! Use tools like a bench scraper to add texture and indents, especially for fruits like pumpkins and peaches.
- Next, split up the dough you reserved for the features (eyes, mouths, stems, leaves, legs) and shape them accordingly. Attach these features to the body dough, using a small amount of milk as glue to ensure they stick securely.
Fermentation/Rise
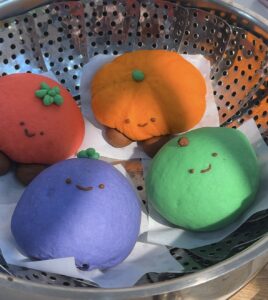
- For fermentation and rising, fill a pot with a shallow amount of warm (not hot) water, just below the level of your steamer basket. Place the shaped buns slightly apart in the steamer basket to allow room for expansion. Crack the lid of the pot slightly to allow some air to escape, and let the buns rise for about 45 minutes, or until they have expanded to approximately 1.5 times their original size.
Steam buns
- Cover the steamer and steam the buns on low heat for 15 minutes. Keep the lid very slightly cracked to allow some steam to escape. Once they're done, remove the buns from the steamer and enjoy your adorable, fruit-shaped steamed buns filled with sweet red bean paste!